Page Contents
After you’re done with usability testing, will you just implement your findings to your products or website? Won’t that be chaotic?
Usability testing often helps you uncover several issues that need fixation and too much data that you won’t even know where to start. Also, you need to know what your team members think about the results before actually implementing them.
In addition, you should know how to report your findings in a way that if another person wants to do the test again, there won’t be any problems.
In this article, we will explain the steps you need to take in order to analyze and report on your usability testing data effectively.
If you still haven’t conducted your usability test, now is a great time to do so. You can do this by using session replay software to see the whole customer journey and see how they interact with your website. Sign up to WatchThemLive and seize their free plan!
What Are Usability Testing Analysis Steps?
There are some steps you should follow while analyzing usability testing. We’re going to review the four main steps with some examples together. Stay tuned!


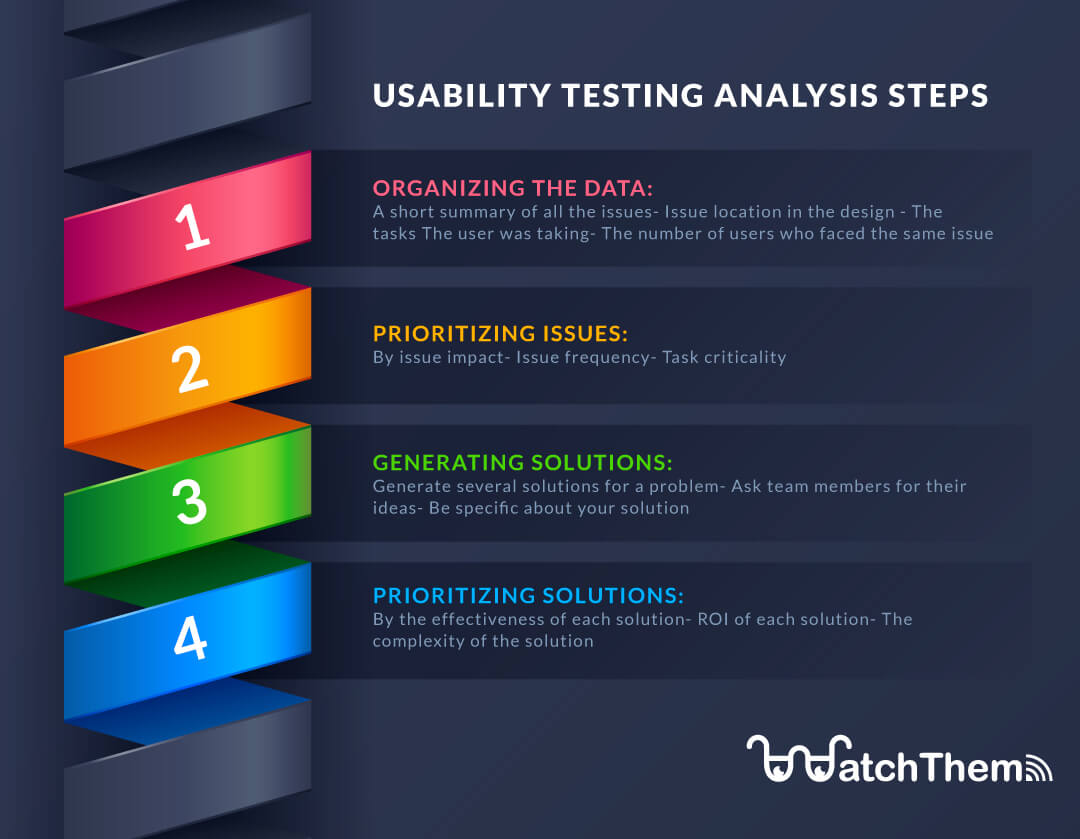
1. Organize the Data
In this stage, you have gathered lots of data that you need to organize before making changes to your prototype hastily. Make a document or a sheet (or you can use software like Excel) and write all the information you’ve discovered. This information should include:
- A concise but comprehensive summary of all the issues
- Where the issues happened in the design
- The tasks that the user was taking
- The number of users who faced an issue while taking a task, so you know the same issues users experienced
You can categorize the information based on the user journey stages for a better understanding and faster results. For example, add a tag with the check-out process, so you’ll know how many users come across a problem in the check-out process.
Here’s a small example of what it should look like:
| ID | Journey Stage | Task | Problem | Tag | Users who faced the problem |
| 1 | Check-out process | Paying for an item | The user left after having to sign-up for paying | Disappointment | P1 P2 P3 ✓ ✓ |
| 2 | Landing page | Ask the team for pricing | The user got confused and lost because they couldn’t find the pricing button | Confusion, button | P1 P2 P3 ✓ |
From this table, you can understand that P1 and P2 both experienced disappointment because of the same problem. Also, you can see that only P1 faced confusion because of the displacement of the pricing button.
2. Prioritize Issues
Now that you have organized your data and know what usability problems you’re having, it’s time to prioritize them. Tending to all of the issues takes time and money. For that reason, you need to prioritize the issues based on their severity. The severity is influenced by factors such as:
- Issue impact: This shows how much an issue impacted the user while completing the task
- Issue frequency: How many participants faced the same issue
- Task criticality: This shows the importance of a task that needs to be completed on time
Then you have to find the severity level of each problem and categorize them in groups. Here are the four severity levels:
- Level 1- Critical: All the problems that prevent users from completing a task fall in this level
- Level 2- Serious: The issues that make users frustrated or cause them slow experiences
- Level 3- Minor: It is still an issue but doesn’t stop the visitor from completing a task
- Level 4- No problem or suggestion: Sometimes participants report something when it’s not actually a problem, or they suggest making a change in your website or product
Let’s see some examples of each level problem:
- Level 1: When a visitor can’t sign-up
- Level 2: Visitors can’t find a category they’re looking for
- Level 3: A misspelling in your logo
- Level 4: The color theme of your website
OK! You’re ready to go to the next step!
3. Generate Solutions
After prioritizing the issues, you obviously have to fix them. Sometimes there is an exact solution for your problem. Well, great! But there are times when there isn’t a specific solution for a problem. Keep these in mind:
- Try to generate several solutions for a problem. You can work with your other team members and ask them for ideas
- Be specific about your solution. Write down all the details
- If your solution addresses multiple issues, write them down as well
You’re all ready for the next step.
4. Prioritize Solutions
As you generate multiple solutions, you should pay attention to some points before implementing them. There are some factors that affect prioritizing solutions such as:
- The effectiveness of each solution
- ROI of the solution
- The complexity of the solution
Keep all these factors in mind while choosing a solution.
Now it’s time for your report. Let’s get to it!
What Should Be Included in Your Usability Testing Report?
Read the explanations below to learn the essentials that should be included in your usability testing report.


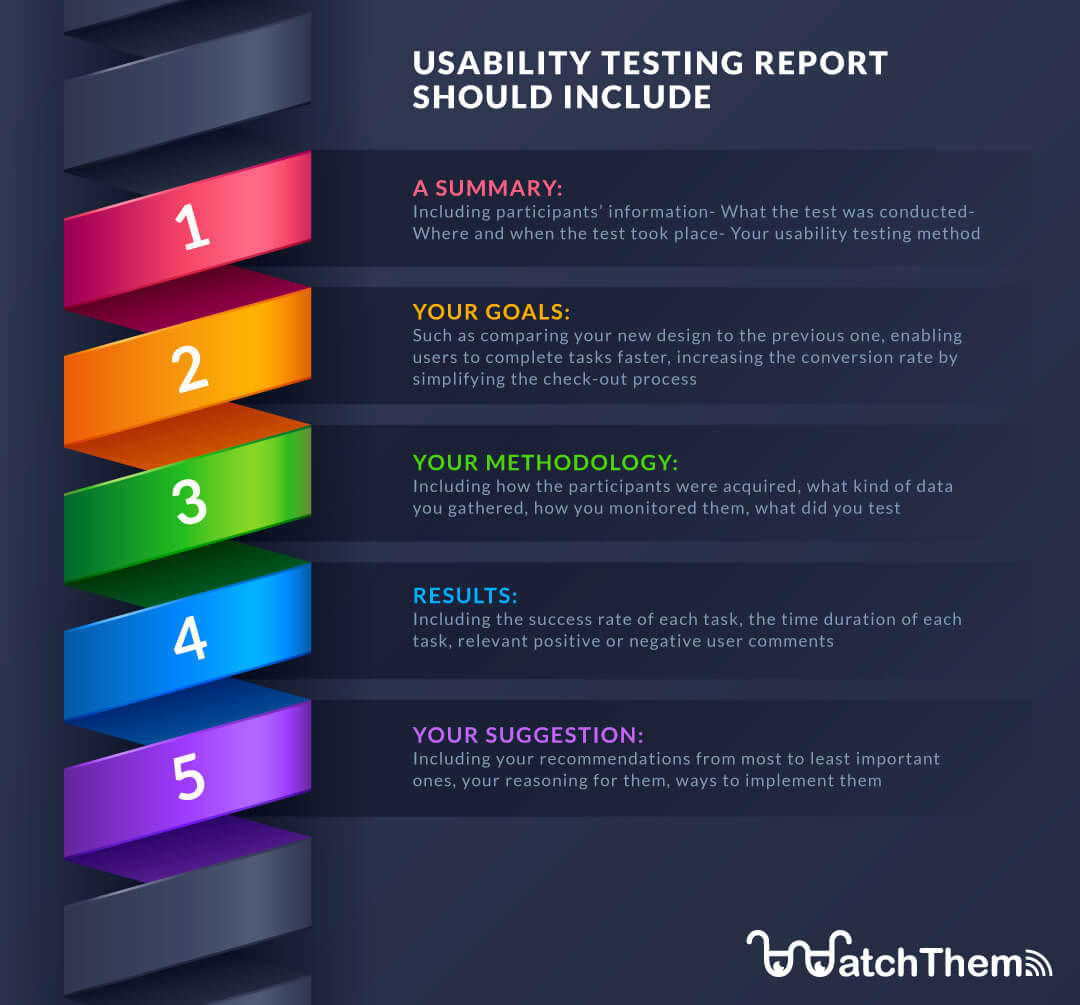
1. A Summary
Write a comprehensive summary, including why there was a need for conducting research in the first place. Add the information about participants, where and when the test was held, and the usability testing method you used (in-person vs. remote, for example.) Also include the state where your product already is, people in charge of taking the test, and the equipment testers used. This helps your team members or stakeholders to get a grasp of the situation.
2. Your Goals
We know that the goal behind usability testing is to find any usability problems and fix them. But you can add some other goals for taking a test. Here are some examples:
- To increase the conversion rate by making sign-up hassle-free
- Compare your new design to the old one
- Enabling users to complete tasks faster
3. Your Methodology
Explain your test methodology so someone else can retake it if needed. Include how you acquired the participant, the kind of data you gathered (qualitative or quantitative,) how you monitored them, and what did you test. Also, write down the task scenarios, if the test was moderated or unmoderated, and participants’ demographics such as their age, profession, etc.
One of the great ways to conduct usability testing is monitoring visitors through session replay software. This tool allows you to see visitors’ interactions with your website, what causes them frustrations, what’s stopping them from converting, and what they like about you. This method is greatly used among UI designers since there’s no need for a moderator or acquiring test participants, and compared to other methods is very cost-effective. Watch this video to see how they actually work:
Still, don’t believe it? Sign up to WatchThemLive for Free and see for yourself.
4. Usability Testing Results
Writing usability test results is the most important part of your report. State your usability test findings and back them up with qualitative and quantitative data. For this purpose, you can use text, tables, graphs, images, and videos for a better understanding. Don’t forget to add the success rate and duration of each task. Also, include any relevant positive or negative user comments.
5. Your Suggestions
Write all of your suggestions backed up by any type of data you collected. List your recommendations from the most important one to the least important one, plus your reasoning for each of them. Also, you can write ways of how to implement them to make it easier to understand for your team members. Here’s some advice: don’t write only the negative aspects of a design and try to add the parts that are working well because others will become discouraged by reading a negative report.
What Are Usability Evaluation Methods?
Usability evaluation shows how a product can solve customers’ problems and how satisfied they are. You should know that the key to success is in repeating the test over and over, and lots of usability testing methods are here to help you through your journey. By using evaluation methods, you are able to take control of the content creation process, user satisfaction, design, etc. Here are some of the evaluation methods and when you can use them:
- Conducting satisfaction surveys to measure customer satisfaction
- Creating goals using focus groups or interviews
- Ensuring that users are going towards the right path by first click testing
Think-aloud protocol, which allows you to test the design and coding of a website
You can choose one of these methods, but combining them together will get you a better result.
Conclusion
Usability testing is what guides a business from dark towards light. So conduct as many tests as possible in the optimum time to drive the best result.
Keep in mind that your usability report should be short, informative, and contain both positive and negative aspects of your product.
In this article, we explained the steps you need to take to do a fruitful usability analysis, how to write an excellent usability test report, and some usability evaluation methods. Keep in mind that analyzing or reporting won’t help you until you take action. Don’t hesitate and take your first step now!
Don’t forget to get a session replay tool before it’s too late! They allow you to run usability tests as if it’s a piece of cake! With WatchThemLive session replays, conduct usability tests like a pro! Sign up here and snag it now!


