Installing Watch Them Live pixel code on your WordPress site is easy. All you have to do is to copy the code and paste it into the “header” of your website.
Here’s a step-by-step guide:
Step One: Register/Login
Make sure you are registered on WatchThemLive. Use this link to create your free account.

Or simply log in to your account.
Step Two: Add Your Website
After signing up to the app, you see a section called “Website.”

Click on the “Add Website” button at the top-right corner. You’ll see this form pops up:
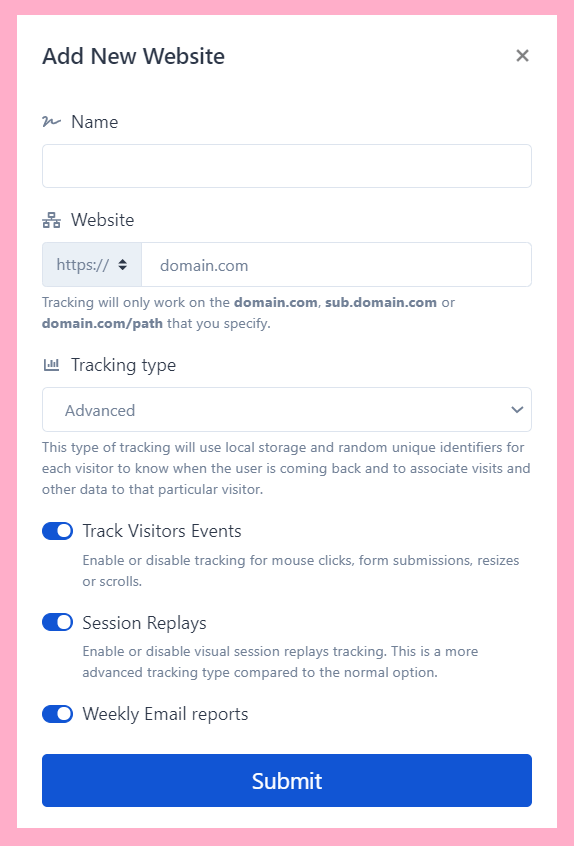
Enter the name of your website and add the URL. Remember that tracking will only work on websites with this format (which includes almost every domain):
- domain.com
- sub.domain.com
- domain.com/path
Remember that we never ask you for your WordPress password or any private data!
Hit “Submit” to finalize the process.
Step Three: Copy and Paste the Pixel Code
Right after submitting your website, you’ll see a pixel code like this:
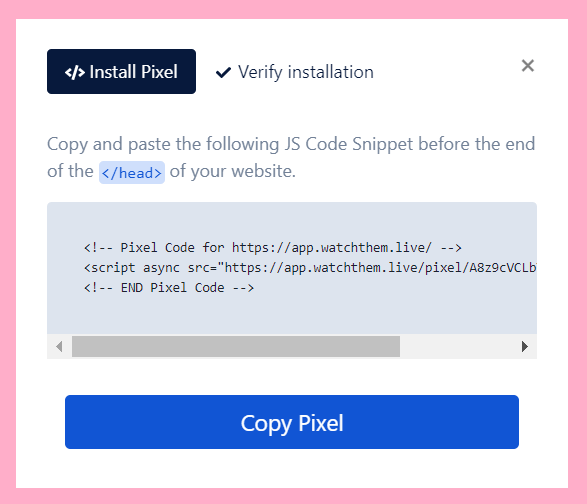
Copy this code and sign in to your WordPress account.
There are several ways to place your code into your WordPress account:
First Method: Using Your Theme Settings
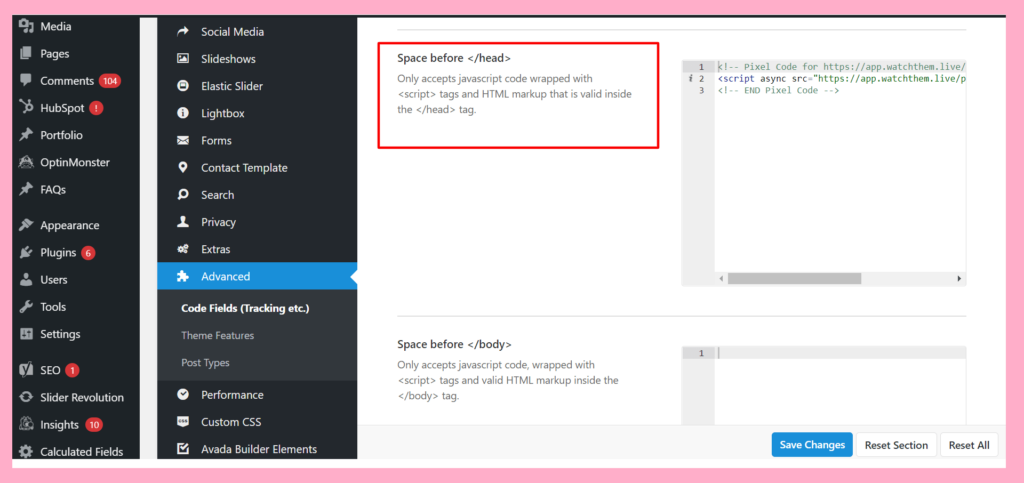
If you are using a custom theme like Avada, go to “Options,” select “Advanced” and paste your code in the Space before and save the changes.
Second Method: Use a Plugin
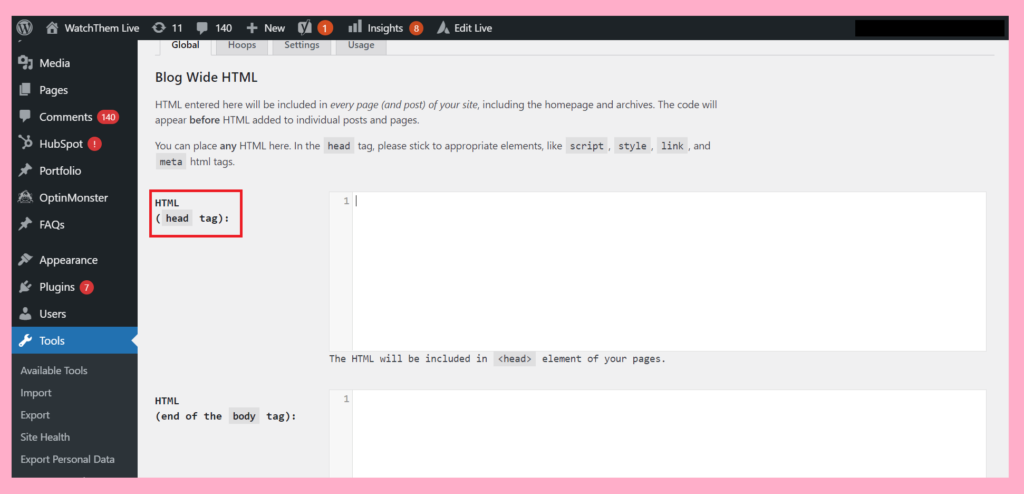
Another simple way is to use a plugin such as “Scripts n Styles” to paste your code in the “head” of your website.
Follow these steps:
1- Go to your “plugins” and click on “Add New,”
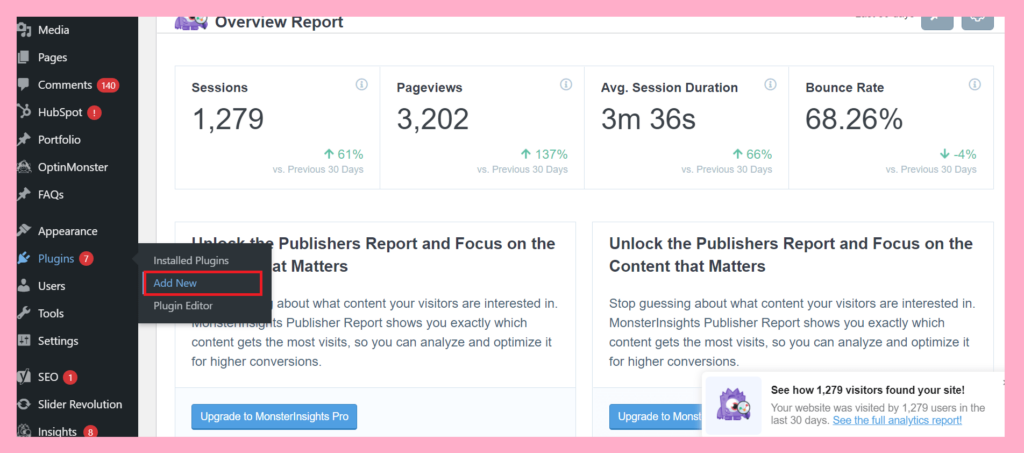
2- Search for “Scripts n Styles” and activate the plugin,
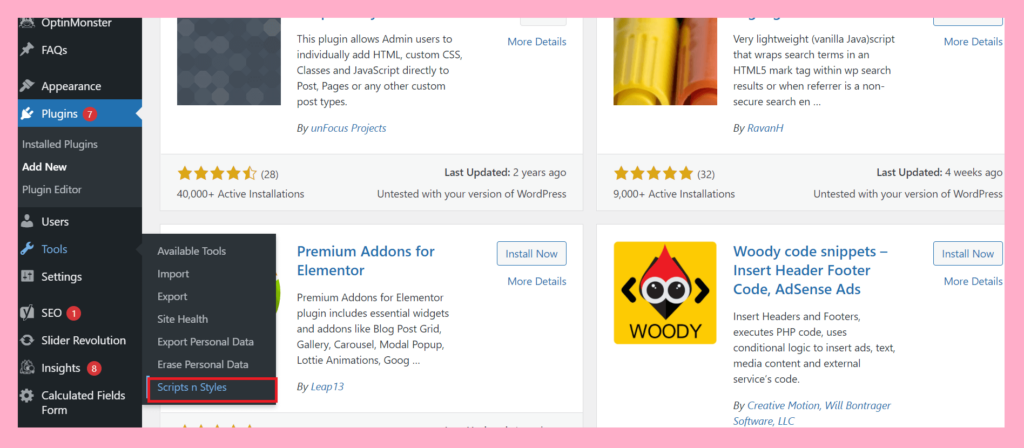
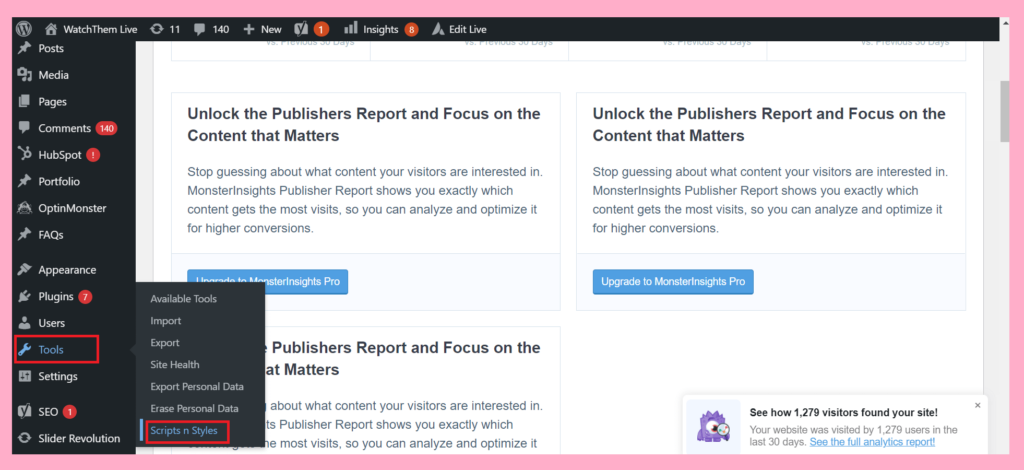
3- Now go to the “Tools” and click on “Scripts n Styles”
4- Simply paste your code in the “HTML (head tag)” and save changes.
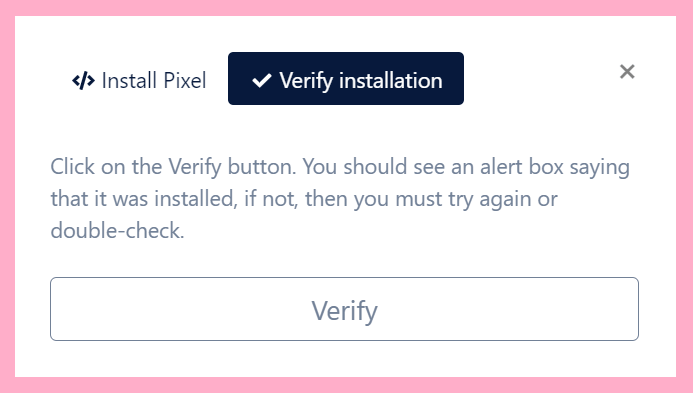
Click on the verify installation tab and then click the button. You’ll see an alert box saying that the pixel is installed.
And it’s done!
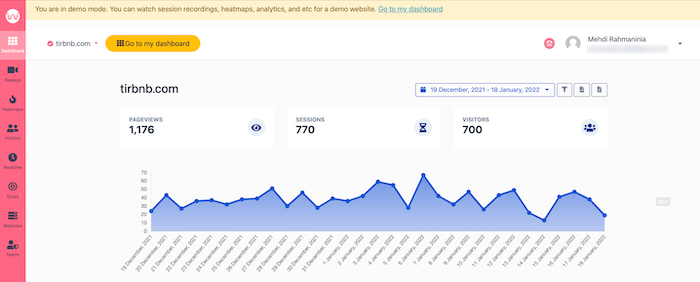
After installation, Watch Them Live starts to collect data and you’ll be able to see video replays and create heatmaps.
Step Four: Become a WatchThemLive Ninja!
To use WatchThemLive in the best way, go through these useful resources:
