Wix is one of the popular web developing platforms; it’s easy to create and manage the website on Wix. It’s also easy to install WatchThemLive pixel code. Here’s the step-by-step guide:
Step One: Register/Login
Make sure you are registered on WatchThemLive. Use this link to create your free account.
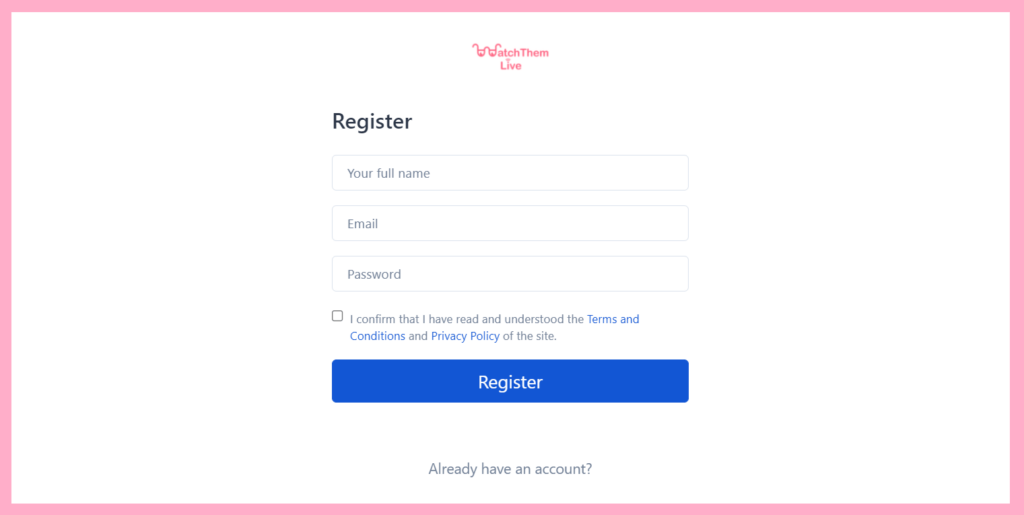
Or simply log in to your account.
Step Two: Add Your Website
After signing up to the app, you see a section called “Website.”
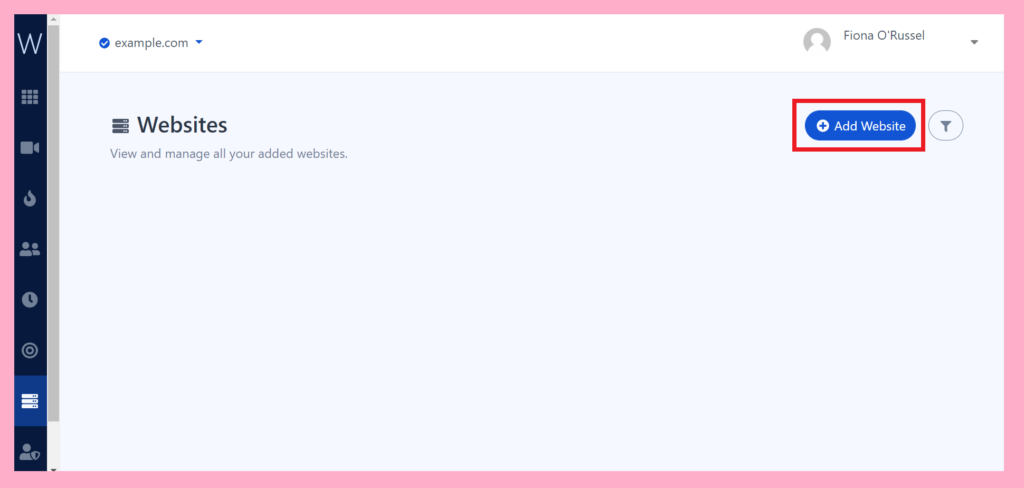
Click on the “Add Website” button at the top-right corner. You’ll see this form pops up:
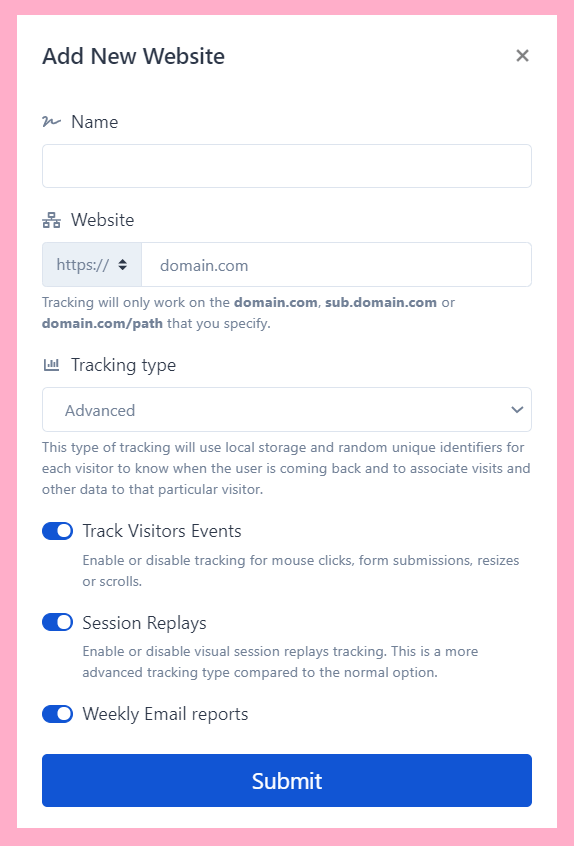
Enter the name of your website and add the URL. Remember that tracking will only work on websites with this format (which includes almost every domain):
- domain.com
- sub.domain.com
- domain.com/path
Remember that we never ask you for your Wix password or any private data!
Then, select the type of tracking that you want to use. There’s two option available:
1- Advanced
2- Lightweight
Learn about differences by reading this article.
Hit “Submit” to finalize the process.
Step Three: Copy and Paste the Pixel Code
Right after submitting your website, you’ll see a pixel code like this:
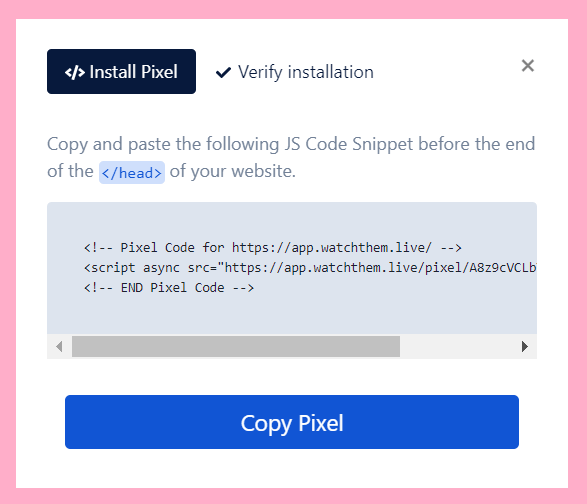
Copy this code and sign in to your Wix account.
1- Click on “Setting” and scroll down to see the “Advanced” section.
2- Click on “Custome Code”
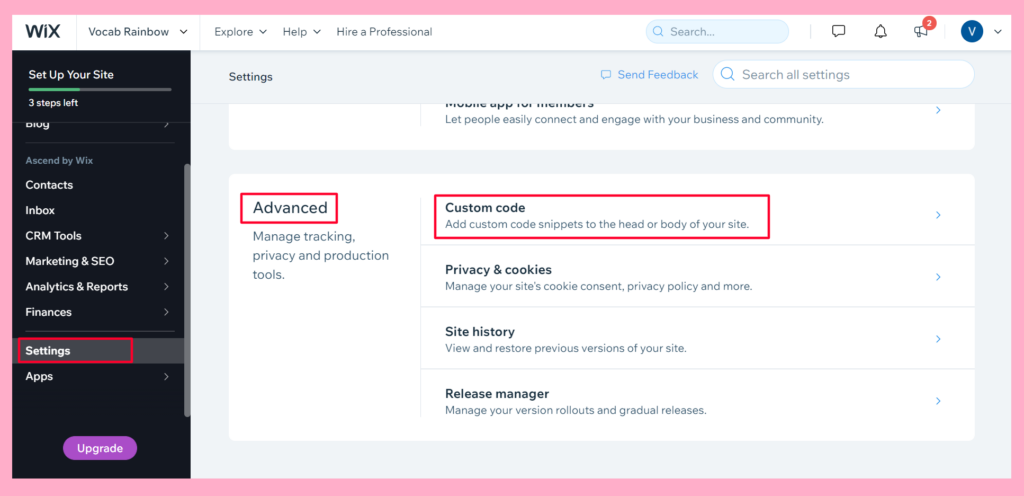
3- Click “Add Custom Code” at the top right.
4- Paste the pixel code in the text box.
5- Select an option under “Add Code to Pages”
Here. you can choose where this code will be applied. You can choose all pages (recommended) or a specific page.
6- Choose “head” to place your code under Place Code in.
7- Click Apply.
And it’s Done!
After installation of the code on Wix, WatchThemLive starts to collect data and you’ll be able to see video replays and create heatmaps.
Step Five: Become a WatchThemLive Ninja!
To use WatchThemLive in the best way, go through these useful resources:
