Webflow is one of the popular web developing platforms; it’s easy to create and manage the website on Webflow. It’s also easy to install WatchThemLive pixel code.
Here’s the step-by-step guide:
Step One: Register/Login
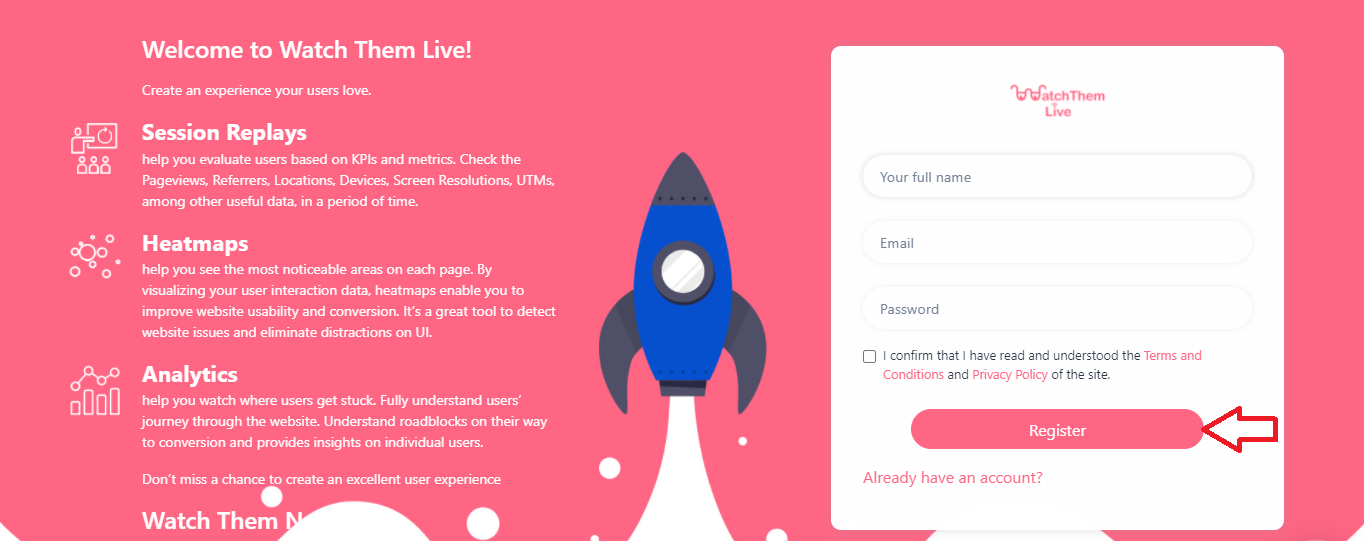
Make sure you are registered on WatchThemLive. Use this link to create your free account.

Or simply log in to your account.
Step Two: Add Your Website
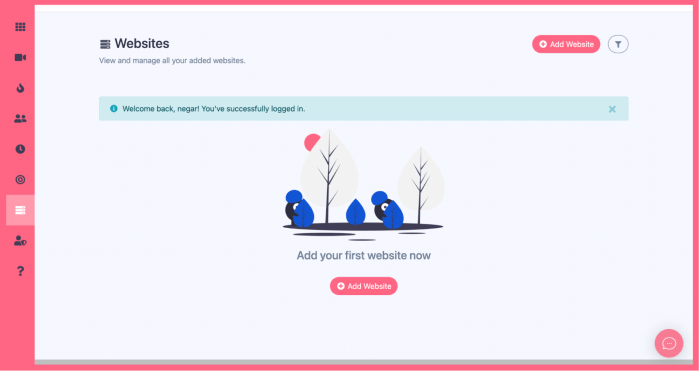
After signing up to the app, you see a section called “Website.”

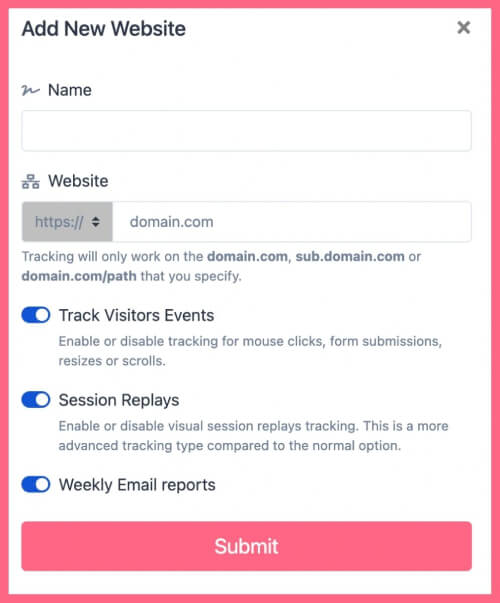
Click on the “Add Website” button at the top-right corner. You’ll see this form pops up:

Enter the name of your website and add the URL. Remember that tracking will only work on websites with this format (which includes almost every domain):
- domain.com
- sub.domain.com
- domain.com/path
Remember that we never ask you for your Webflow password or any private data!
Then, select the type of tracking that you want to use. There are two options available:
1- Advanced
2- Lightweight
Learn about differences by reading this article.
Hit “Submit” to finalize the process.
Step Three: Copy and Paste the Pixel Code
Right after submitting your website, you’ll see a pixel code like this:

Copy this code and sign in to your Webflow account.
Now follow these steps to paste the code in the header of your Webflow:
1- On the upper left corner of your Webflow account click on “Project Setting,”
![]()
2- On the new window, click on “Custome Code” and then paste your WatchThemLive pixel in the “Head Code” area.
3- Click “Save Changes”
![]()
And it’s Done!
After installation of the code on Wix, WatchThemLive starts to collect data and you’ll be able to see video replays and create heatmaps.
Step Four: Become a WatchThemLive Ninja!
To use WatchThemLive in the best way, go through these useful resources:
